
Years
ago, I started making our pizza's from scratch. Feeding 5 guys (and
often others) ordered out pizza, was just not budget friendly! I did it
for many years. Then I tapered off. Many reasons as to the 'why'. The
guys have been after me to start making it again, which I find comical,
in part, seeings how a couple of them do make it themselves, using my
recipe. Not only have they been wanting me to make homemade pizza for
them, but they really want the 'deep dish' kind. And always, they have
added (with smirks) "This time, make it r-e-a-l-l-y deep!"
It was decided that this now past Sunday, we were going to do a
birthday dinner. Brent's (much belated) and Benson's. What to fix for
dinner that both of those two would think was a meal specially for
them?! Quite a quandary, I tell you. Then the idea hit, make homemade
pizza. But not just regular pizza, because to make enough to satisfy the
whole group, It would take three batches, of only two in the oven at a
time... so make deep dish ones. Then with an audible giggle, the idea
came to use my huge wedding cake type of pans as d-e-e-p pizza pans. :->
The next quandary was for a dessert for those two. Another idea came that was such a hit! But that's another posting.
I had posted this on my Facebook wall Sunday morning - "Headed
into the kitchen to start prepping for tonight's family dinner,
celebrating Brent's ( a 'bit' belated) and Benson's birthday's. I'm
concocting my own version of a much loved 'dish'. Here's hoping it turns
out.... In hopes that it does turn out as a "keep it" recipe, I'm
taking both notes and pictures as I go..."
The B'z D-E-E-P dish pizza -

-picture of finished pizza -
From my notes -
1st step
- send Brian off with a shopping list. Did that Sat. evening. Thanked
both Brian and God that he added a few things to the list, especially
the eggs and butter I hadn't thought to add, but needed for the
dessert!
2nd step - Making the SAUCE -
Dump the following into a large crock-pot -
1 - #10 can (6 lbs 10 oz) GFS Tomato Sauce
1/2 cup grated REAL Parmesan Cheese
1/4 cup dried Parsley Flakes
1/8 cup (dried) Leaf Oregano
1/8 cup (dried) Sweet Basil Leaves
1/2 cup (dried) Minced Onion
1/4 cup Garlic Powder
1/8 cup Granulated Sugar
1 Tablespoon Salt
1/2 teaspoon Pepper
1 Tablespoon Mild Chili Powder

whisk it together.

Plug crock-pot in, with lid on, and cook on low for 4 hours or so.
3rd step - Open and set to draining #10 can (4 lb 4 oz = 68 oz total) Mushroom Stems + Pieces

4th step - brown the Sausage.
Heavily spray electric skillet (or whatever skillet you use).

Use kitchen shears (LOVE them!) on sausage logs. Place logs in skillet. Chop logs in half lengthwise.

then
again, and again... then switch and start the other direction (the
width of the pan). Chop away until all of the meat is in small pieces.
Scoop meat away from one end of the pan and spoon out excess grease
(NEVER dump it down the drain! It will eventually create horror clogs in
your drains, and if you have septic tanks... it results in huge
expensive problems! Use previously emptied and rinsed out metal cans.
Store them in your freezer till the morning of trash day.)
Dump finely chopped out sausage onto a cookie sheet lined with 3 layers of paper toweling. Set aside.

5th step - re-spray and re-plug in the electric skillet. Cook Bacon.

2 packages (3.5 lbs each) Naturally Hickory Smoked Thick Sliced Bacon (from Sam's Club)
When
pieces are done, lay them on another triple layered paper towel covered
cookie sheet. Set aside. When cooled a bit, chop into fine pieces.

Steps 5 and 6 can easily be done simultaneously.
6th step - Peppers. I used red, orange and yellow ones.

core them, remove all the seeds, cut into thin strips and then into small pieces.


What
I didn't do this time but WILL do from now on, is to roast them first.
Not doing so, resulted in a lot of liquid in the finished pizza. Next
time I will roast them first and let them dry on paper toweling like I
did some of the meats. Live and learn.
7th step - the DOUGH.
I copied this recipe out of a thin, non hard cover cookbook, titled
"Italian Food Cookbook" that I don't remember if I had received as a
shower or wedding gift, or if I had picked it up somewhere.
I made 4 times the recipe, but I will be nice and put the single batch recipe here -
1 Tablespoon dried yeast
3/4 cup warm water (186 ml)
2 1/4 cups flour
1/2 teaspoon salt
1 (or more) Tablespoon(s) olive oil
1) Put yeast into a small glass bowl and add the warm water. Allow to stand 5 minutes, then mix till smooth.

2)
Measure flour into a warm (sprayed) bowl (I rinse the bowl under HOT
tap water for a couple of minutes, let air dry for 1 minute, then use)
with the salt. Blend some.

3)
Pour the yeast mixture into the flour with one Tablespoon olive oil.
Mix with your (sprayed) hands to a stiff dough. If mixture is too dry.
add more olive oil, mixing again before deciding whether or not to add
even more. Before kneading, let dough sit for five (5) minutes. The
recipe then says to knead on a floured board for ten (10) minutes. I
usually just knead it in the bowl.
4)
Lift the dough out with one hand, respray the bowl, put dough back in,
turning it till all sides have some of the spray on it.

Cover the bowl
with light weight dish cloths and place in a draft free spot (the inside
of your not turned on oven works great!), until doubled in size (an
hour for a single batch, hour and a half for 4 x the recipe).
8th step - can be done while dough is rising. Ham.
Slice half of a large (boneless) ham very thinly. Then chop it up into small bits.

Yet again, place the meat onto a paper towel lined cookie sheet and set aside.
9th step -
-picture of risen dough -

Spray
your counter top with pan coating spray, lightly flour the area, do
both to your rolling pin. Take all of your dough if your doing a single
batch, or the right percentage of your dough if you did a multiple
batch, and with sprayed hands, between your hands, knead it a bit more
till it's smooth and elastically. Place dough onto prepared counter top
and starting from the middle, rolling out first one direction, then the
other, then from an angle, then another angle. Turn dough over and start
all over again. Keep doing thus until your dough is larger than the pan
you plan on using (hold pan just above rolled out dough to judge
size). Fold dough in half, then half again and place along one edge of
well sprayed pizza pan (or whatever pan your using). Unfold dough
gently. If your using a deep pan, make sure you get it up and over the
sides. Getting it even over the edge of the pan, will help keep it in
place better for filling. If you need to stretch it some, start in the
middle of the pan and using your finger tips, slowly work the dough
towards the outside, stretching a bit as you go. Be gentle! You don't
want to rip it and have to patch it.

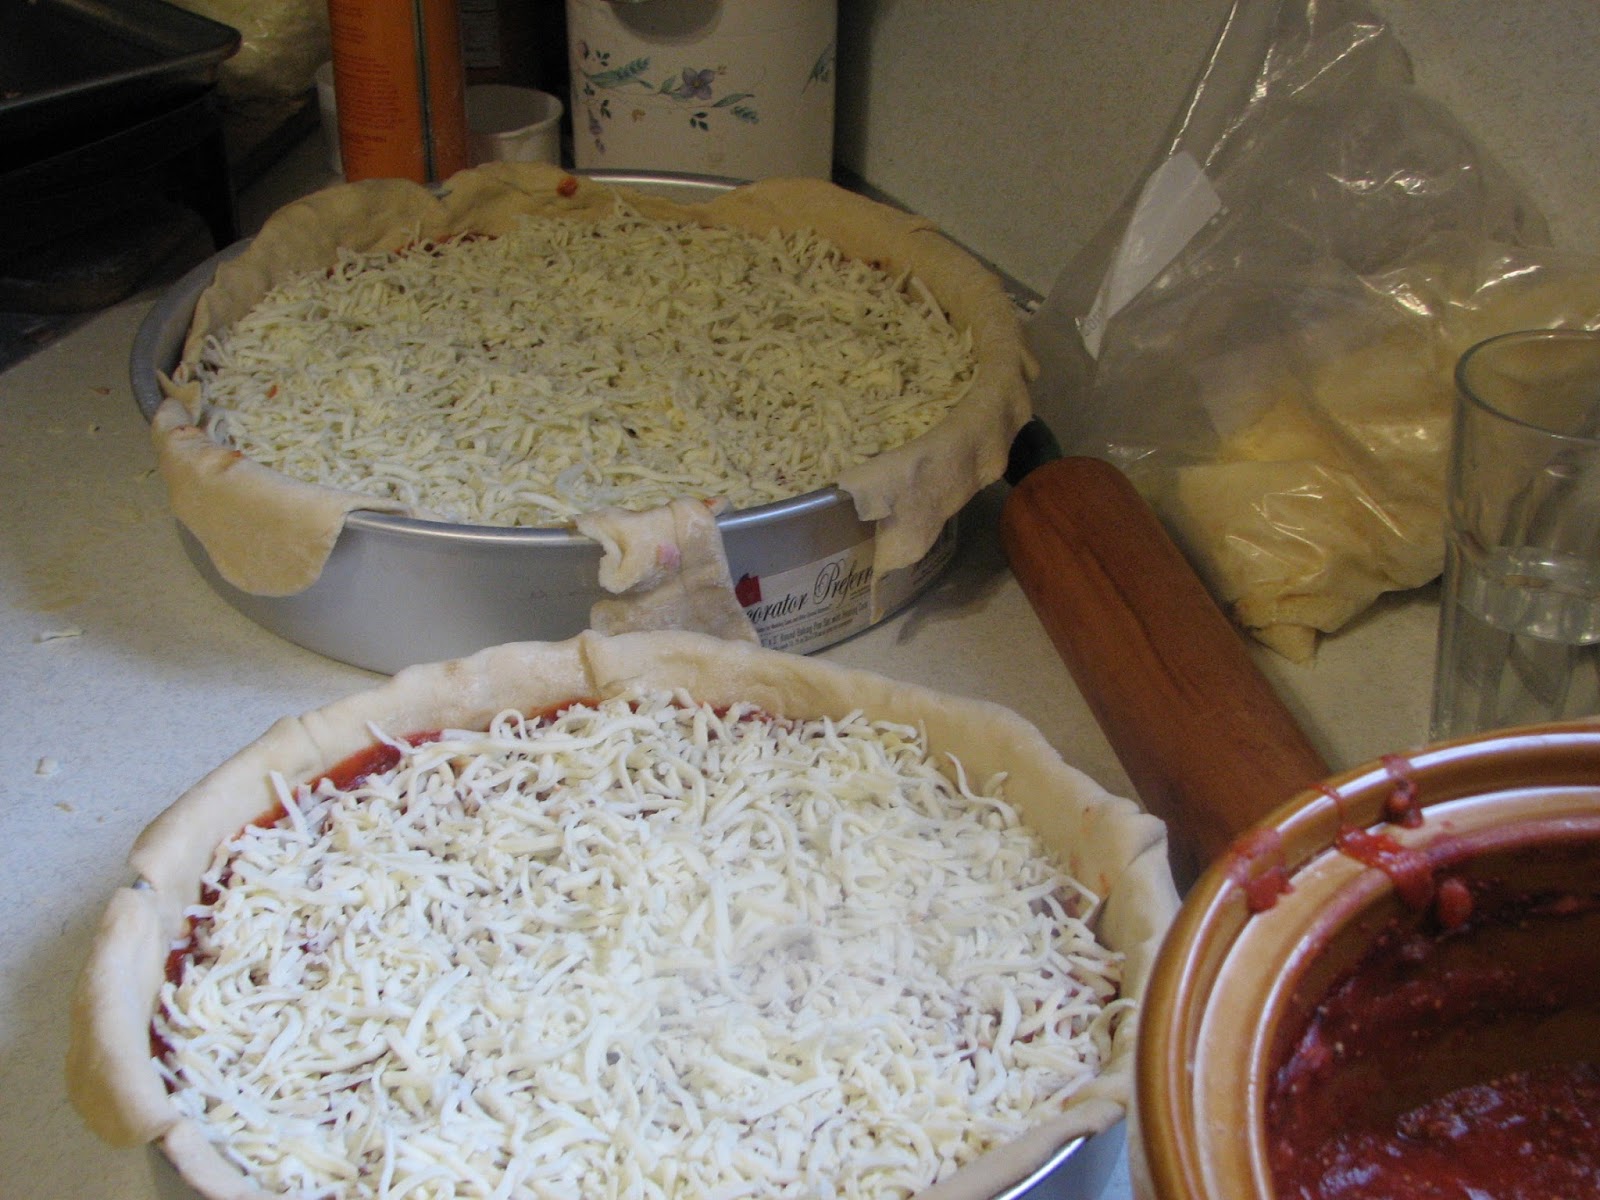
10th step - Assembly time - (turn your oven on to start preheating)
Once the dough is in the pan right, let it sit for 5 minutes before you start adding your layers.
LAYERS: Remember, your going to want some of every ingredient in every single bite!
Sauce. (thick enough that your not seeing the dough through it.)

Ham.

Mushrooms

[For
the record - the larger pizza had the layers of mushrooms and peppers,
the smaller pizza did not. Next time I'll be making a third one, with
out the pepperoni. It tipped the spice table too much for a couple of
us. Pepperoni is not worth heart burn. Period. ]
Pepperoni

Another layer of Sauce
Shredded Mozzarella Cheese
Peppers

Sausage
Bacon

Another layer of Mozzarella Cheese
Add a third layer of the Sauce
heavily sprinkled on Parmesan Cheese
11th step - BAKE

I baked them for 45 minutes at 450 degrees. The bottom crust was a bit tough, so next time I plan on baking them at 400 degrees and covering them for the first 40 minutes.
Remove them from oven, sprinkle on just a bit more Mozzarella Cheese, put a round cookie sheet upside down on them (to help the cheese melt some) and let the pizzas sit up for 10 minutes or so before slicing and serving.

When
asked, the pizza got several thumbs up and a few thumbs sideways.
Roasting the peppers first, as well as lowering the baking temp and
baking it covered for most of the baking time, 'should' help turn most
of the reasons for the thumbs sideways to thumbs up. ;->

The
amount of time invested - a lot. Worth it? Oh yeah! Their eyes when
they discoverd that the pans contained deep dish pizza were priceless! o:->
No photo shop work was done on these pictures. Yes, some could have used it. Still conquering the mountain of laundry in the basement.
~ ~ ~ ~ ~ ~ ~ ~ ~ ~ ~ ~
I 'plan' on linking this particular posting up to:
~ "Making Your Home Sing Monday('s)", are hosted by Nan, at 'Mom's the Word (I love to hear)' (http://momstheword--livingforhim.blogspot.com/).
~ "Kitchen Tip Tuesday('s)", hosted by Tammy, at 'Tammy's Recipes' (http://www.tammysrecipes.com/).
~ "Tuesday's Tasty Tidbits", hosted by Susan, at 'Permanent Posies / Creative Chaos' (http://permanentposies.com/)
~ "Totally Tasty Tuesdays", are hosted by Mandy, at 'Mandy's Recipe Box' (http://www.mandysrecipebox.blogspot.com/).
~ "Tempt My Tummy Tuesday('s)", are hosted by Lisa, at 'Blessed with Grace' (http://www.blessedwithgrace.net/).
~ "Full Plate Thursday('s)", are hosted by Miz Helen, at 'Miz Helen's Country Cottage' (http://mizhelenscountrycottage.blogspot.com/).
~ "Foodie Friday('s)", are hosted by "Gollum" (aka: Michael), at 'Rattlebridge Farm' (http://designsbygollum.blogspot.com/)